Last Updated on October 11, 2022 by Jordi Hilpert
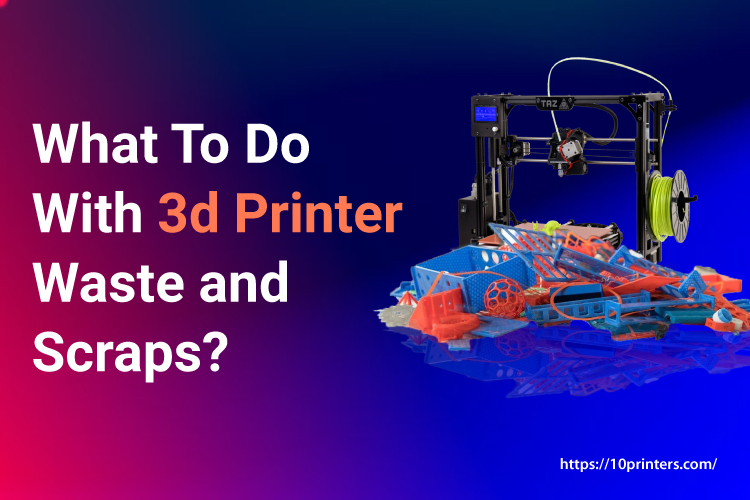
what to do with 3d printer waste? If you have a 3D printer, it likely produces waste. While most 3D printer owners throw away the waste, there are creative ways to recycle it. You will likely generate lots of printed waste and scraps when working with a 3D printer. It is important to have a way to properly dispose of any excess material. It’s easy to manage your 3D scraps and You can even make a profit from it.
1. Collect printer waste in a metal container
You need a container or metal bowl to store your scraps before you can use them in your 3D printer. It is important to have a routine of collecting your scraps. The metal container must be safe for use in the oven.
You could, for example, use the sheet pan. It is made of heavy-duty stainless and is easy to clean. You can heat your plastic scraps by heating them on the high sides. You can use the materials however you like once the container is full. Some people heat the materials lightly in an oven and then press other items into softened scraps.
The mold is then used for many crafts such as resin making. This mold can be used to make small items such as jewelry or guitar picks. You want to ensure that your leftovers are safe. You might have some failures with your 3D printer.
You want everything to be in one place to avoid losing or accidentally throwing out anything.
2. You can make your own DIY filament recycling machine
A filament recycling machine is essential if you plan to print many 3D projects. These tools make it easy to recycle your plastic scraps. This method allows you to recycle up to 100% of any piece that has failed.
Cut or smash the project into small pieces. Then melt the plastic. You can then extrude the material to make a filament that you coil onto another roll.
Extruding plastic is easy. You simply push the warm plastic through small holes. Once the filament cools completely, you can use it to print. You can also buy a filament extruder if you don’t wish to make it yourself. You have many options for DIYing.
3. Make a plastic rod or brick
You can also make a plastic rod or brick using scrap materials. All of your materials should be placed on a cookie sheet. Then heat them in the oven at low temperatures. The result is a flat sheet made of plastic, also known as a plastic bill. You can fill a spare bread pot with plastic leftovers.
The billet can be used for many purposes once you have it. It can be carved and shaped by hand to any shape you like. This brick can also be cut into tiles or shaped into a door wedge. Mixing patterns and combining different colors is possible. You can create beautiful designs with your billets.
4. Bring the plastic to a Recycle Center
For most people, recycling locally should be an option. Check with your local recycling center to see if they accept ABS or PLA plastics. This is what your printer should use. These materials may not be accepted by every center, so make sure to check before dropping them off.
It’s possible that your center will not accept it if it isn’t now. Plastics like these are becoming more and more common every day. There’s always the possibility that they will accept them shortly.
5. For reuse, meltdown failed prints
Don’t toss out a print that isn’t working. It is possible to melt the material and reuse it. This will help you save a lot of money on printing materials since you don’t have to buy them as often. Many people also don’t print the first print.
You will first need to smash or cut the print. Place it in an oven to melt the pieces. Because plastics have different melting points, you will need to identify which type you have. You should also need to know How to Choose a 3D Printer to make sure you have the best printer!
6. Get an ABS Slurry
To make ABS slurry, you can also mix your scraps in acetone. This is only possible with Acrylonitrile butadiene styrene (ABS), filaments that contain oil. You can make many adhesives with scraps of this type.
You will end up with a solid plastic piece after the acetone evaporates. Many people keep some ABS slurry handy to help them with their projects.
There are three types of ABS juice: ABS glue, ABS juice, and ABS slurry. These mixtures can be used to attach parts or fill in gaps in printed details.
Let’s look at the steps involved in making the slurry.
These tools can be used to make adhesive mixtures:
- Scissors
- Scrap materials
- Glass jars with lids
- Acetone
It is very simple. Adjust the consistency of the mixture until you achieve the thickness that you desire for your project.
Here are some tips to help you prepare your adhesive
1. You can use the scissors to trim the scraps into small pieces.
2. Add the acetone to the jar. You can add more if you want the mixture to be thinner.
3. Slowly add all the parts until you achieve the consistency that you desire.
4. Place the lid on the container and stir the mixture.
5. Let it sit for approximately eight hours.
6. You can occasionally open the cover to release the pressure inside the jar.
Your adhesive should be ready after eight hours. You can thin it with more acetone or add scrap to improve the adhesive’s texture. Mix the ingredients and let the jar sit.
Sometimes it may take several tries before you achieve the consistency that you desire. Don’t be afraid to try different things.
ABS Slurry
Make an ABS slurry. This is the most common option and it works well as a filler. It can be used to reinforce seams, fill in gaps or add plastic to the print. You can also use the slurry to add material to your piece later.
ABS Juice
ABS juice is the thinnest. It is best for connecting pieces together, improving adhesion, and lowering warping. It can be spread over the print bed to prevent it from becoming uneven in size or warping.
ABS Glue
ABS juice is thinner than glue, but glue is still able to hold parts together. It can be used to fix broken prints or to assemble multiple parts. You don’t need to worry about it falling apart after use.
The amount of plastic and acetone in the mix can be adjusted to adjust the adhesive’s consistency. Depending on the project, you can use either thicker glue or thinner glue. You’ll need to experiment with different ratios until you find the right combination.
7. Place your PLA in the compost
Did you know that polylactic acids (PLA), can be made into compostable materials? This plastic is made up of different plant sugars that can be broken down under the right conditions.
It is important to ensure that your compost environment is suitable. PLA will not break down under high heat. You must ensure that compost is hot and moist when it’s in your garden.
Any type of plastic takes a while to completely compost. If you are willing to commit to this process, you can make a difference in the environment by sustainably recycling your 3D plastic scraps.
8. Send them to a friend
You can also offer your scraps to anyone you know who enjoys 3D printing. It’s a good idea to first ask them, as they may not have the space or knowledge to use the scrap.
3D printing projects such as these are a case of one man’s trash being another man’s treasure. Someone will use your 3D materials. It’s better not to throw away your scrap.
Even if you don’t know what to do with all the extra plastic, there are chances that another printer could use them.
9. Combine Failed Projects
You can also combine failed projects to create something new. ABS slurry can be used to bond multiple parts together. You can then sand your piece and remove the plastic.
This project requires parts you already own. You’ll have tons of material if you keep all your plastic. Plastic can be broken down, melted, constructed, or combined in many ways, so don’t throw it away.
You can also cut the piece and turn it into ABS slurry. This allows you to make an adhesive that can be used to connect your printed plastic parts.
You don’t want a project to fail because it didn’t go as planned. The failure of a project can be used as a learning opportunity and you can then create something completely new. It is always worth having your projects stored somewhere safe.
10. Donate to them
Today, 3D printers are available in many schools and libraries. Reach out to anyone you know who has one. These groups may be interested in taking your unwanted materials. Instructors could show others how to create 3D prints before they use the “fresh” plastic.
Many groups that have 3D printers are interested in your scraps. Even if an institution has access to a 3D printing machine, not all institutions will have the resources necessary for such projects. They might appreciate the scraps for practicing printing.
Before you bring 3D plastic scraps to an institution, make sure you get in touch with them. Not everyone will accept them even if they want to. It is important to be familiar with their donation policies.
Keep scraps for future use
You should store them for future uses, not throw them away. Reusing plastics can help you save money and keep more plastic from going to landfills.
There are many options available when it comes to what to do with 3d printer waste. You can find creative ways to recycle your scraps, I am sure. You can learn more about 3D printing by visiting my website. There’s so much to see.


